Hello!
I am Yinglei, a VFX minion by day.
Here I showcase a selection of my highlighted works and various projects I have worked on over the past decade.
I value process over the product and take pleasure in problem-solving, both technically and visually.
Feel free to check out my
LinkedIn,
resume,
IMDB and
portfolio if you are looking to hire.
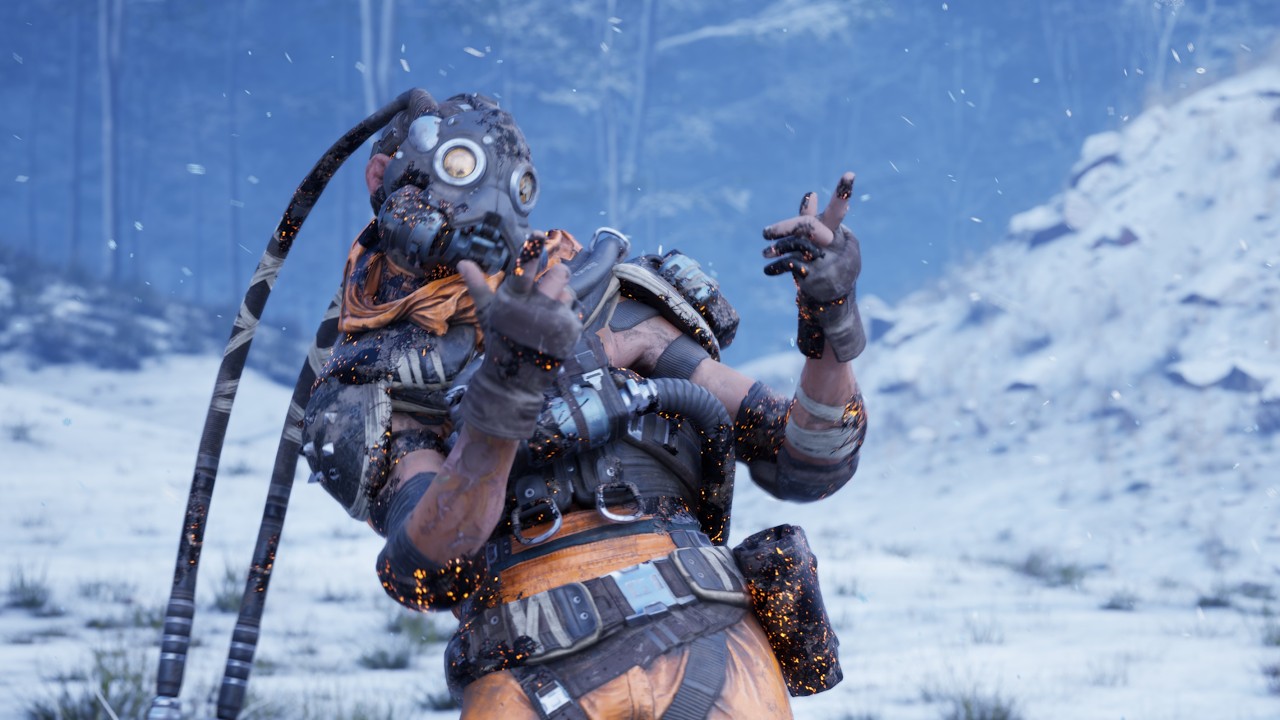
Latest Reel (mostly hardsurface)
Old Reel (2020 and prior)
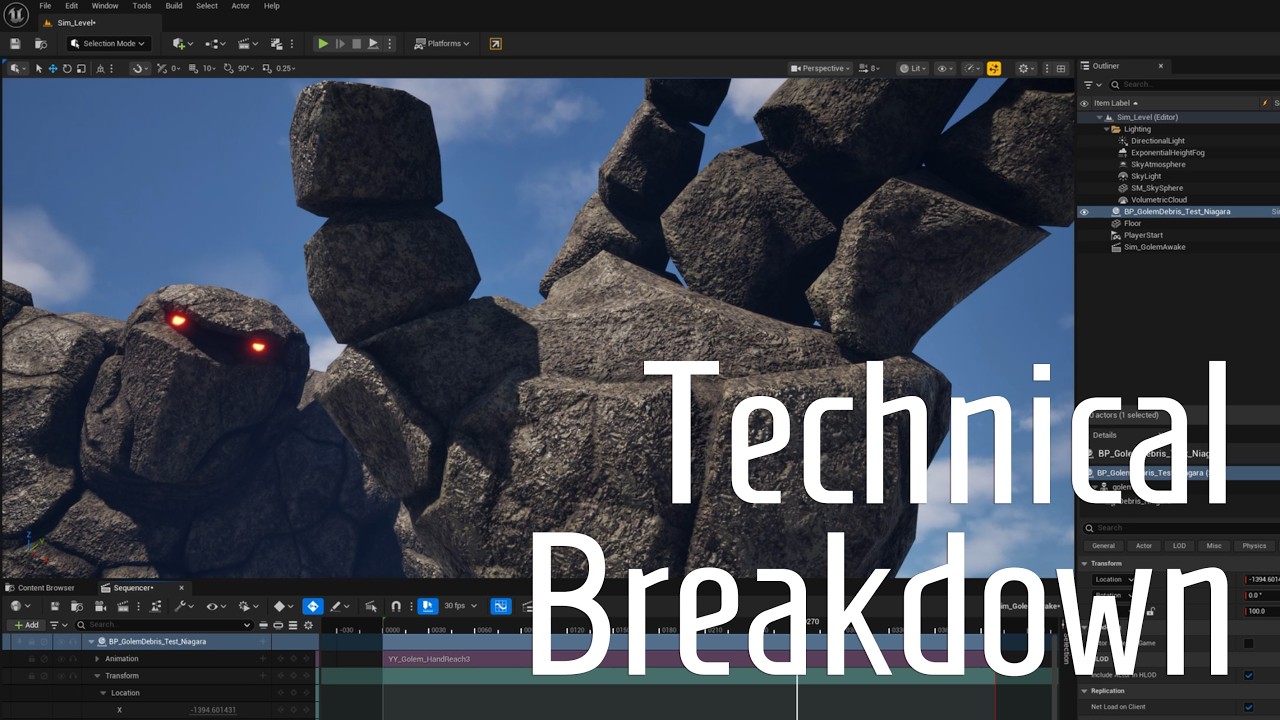
Since 2023, I have been actively exploring adjacent fields in real-time rendering and AI, constantly adding new tools to my arsenal. Recently, I completed the Unreal Connectors certification and released my first Unreal Engine short film.
Here is the film and its technical breakdown:
Well, above are all related to my professional endeavors.
By night, when I am not working on VFX, I am dreamer, an explorer, and a long-termist who believes in skill-building through daily practice.
If you'd like to learn more about me, here are some of my hobbies and interests outside of work -
After experience my first burnout in the industry, I decided to pick up Guqin, a low-pitch Chinese instrument. The following year, I started learning Pipa, a loud instrument with complex techniques. With the help of my teachers and friends, traditional Chinese music became my salvation for the following years.
Here are some pieces I've played.
-
Flowing Water 流水 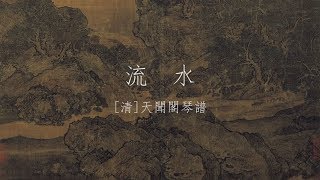
-
Thinking of an Old Friend|Heart Sutra 憶故人|小草心經 
-
Ancient Tunes of Yingzhou 瀛洲古調 
-
Leaves Dance in an Autumn Breeze 梧葉舞秋風 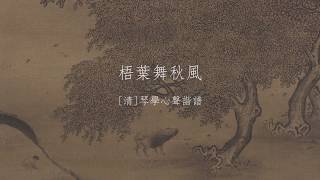
-
Spring Blossoms On The Moonlit River 春江花月夜 
-
Seabirds with No Ulterior Motives 鷗鷺忘機 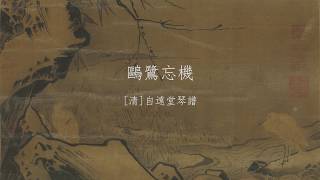
-
Like Waves Against Sand 大浪淘沙 
-
The Lament 離騷 
-
Fisherman's Song 欸乃 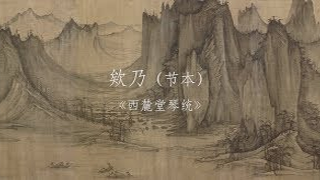
Following that, I also delved into traditional Chinese ink paintings and calligraphy. This experience deepened my connection with my heritage more than ever before, even while physically distant.
-
臨晴巒蕭寺圖 A Solitary Temple amid Clearing Peaks 
-
臨谿山行旅图 Travelers Among Mountains and Streams 
-
臨早春圖 Early Spring 
-
Fisherman's Flute 臨漁笛圖 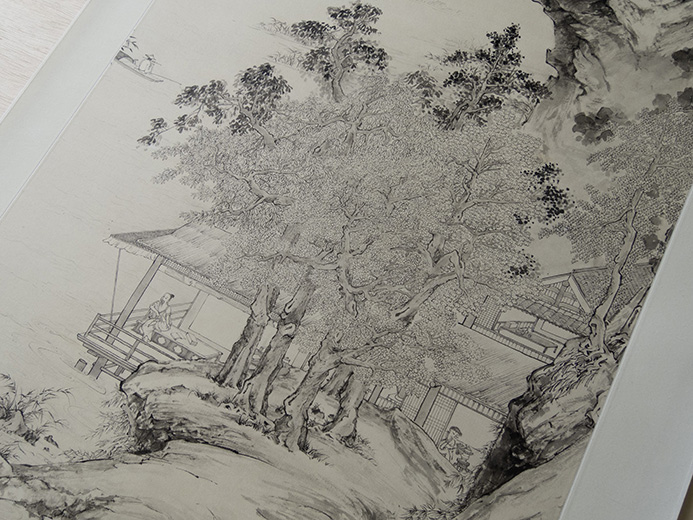
-
Summer Mountain 變臨夏山圖 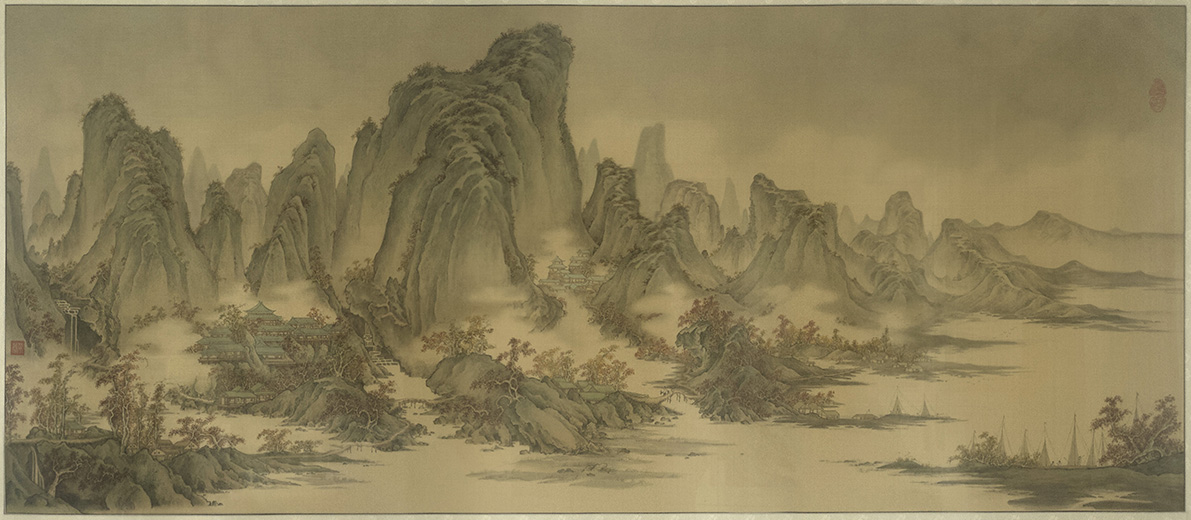
-
The Floods of Autumn 臨濠梁秋水圖 
-
Red Cliff 臨赤壁圖 
-
Who invented work? 邊一個發明了返工 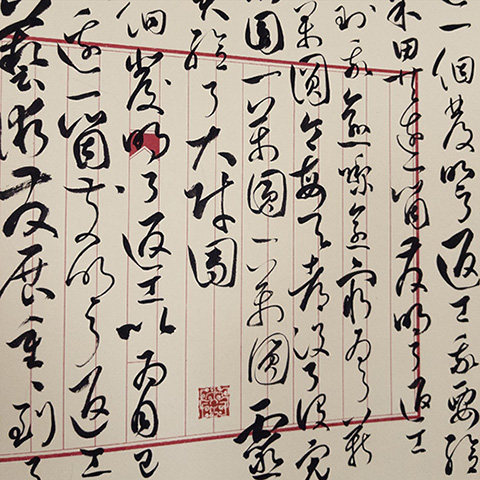
-
Egg shortages 蛋呢 
-
Heart Sutra in cursive script 小草心經 
-
Heart Sutra 心經 
-
Studying “Spiritual Flight” 臨靈飛經 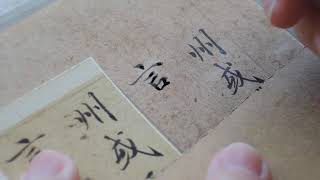
-
Poem of a Dead Tree 枯树赋 
I received extensive training in traditional drawing and painting. In recent years, I have become fascinated with Renaissance-era methods, particularly the use of layering and glazing techniques. I find that this process somehow mirrors the feeling of waiting for renders at work.
Here are some examples of my drawings and paintings created during my time away from the computer.
-
Laocoön and His Sons 
-
The thorn puller 
-
Untitled 
-
Nameless Roman relief 
-
Untitled 
-
Untitled 
-
A study of Lopez 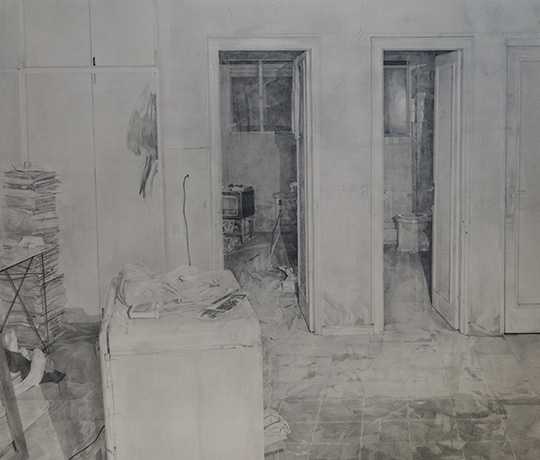
-
Three goddesses 
-
Ennius and Vergil 
While I have previously completed numerous photo copies and master studies, my focus has now shifted towards creating more original pieces.
Creative coding is another hobby of mine that allows me to immerse myself in shapes and colors.
The projects showcased here include class assignments from Arsiliath's workshop using compute shader, a challenge submission using the python-based language Taichi, and an old clip I digged up from my drive created using Processing.
Stay tuned for more upcoming projects.
-
3D Boids 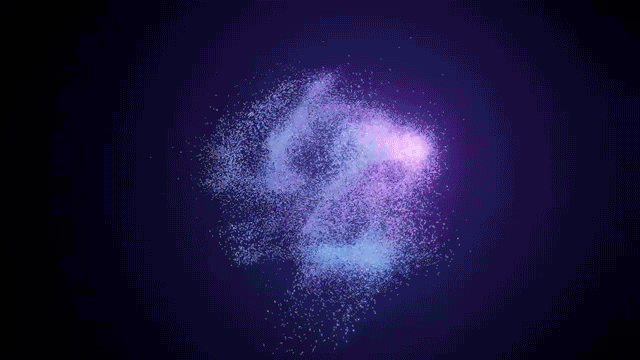
-
Exploration 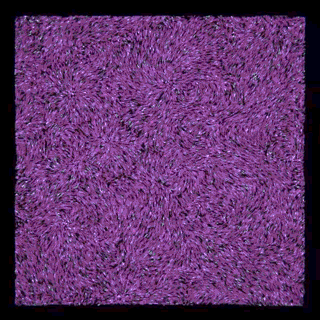
-
Agents 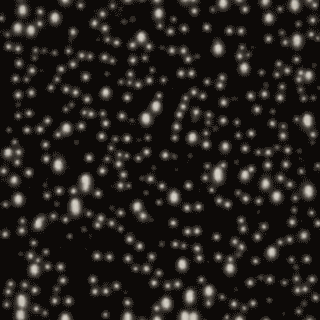
-
Boids with settings 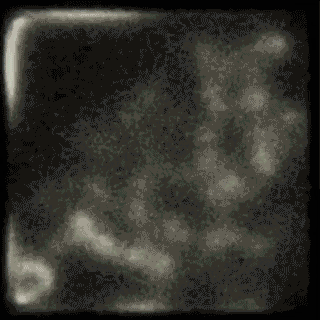
-
Instancing 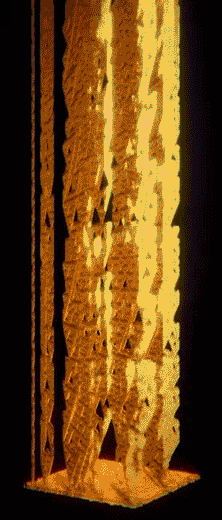
-
Little night lamp 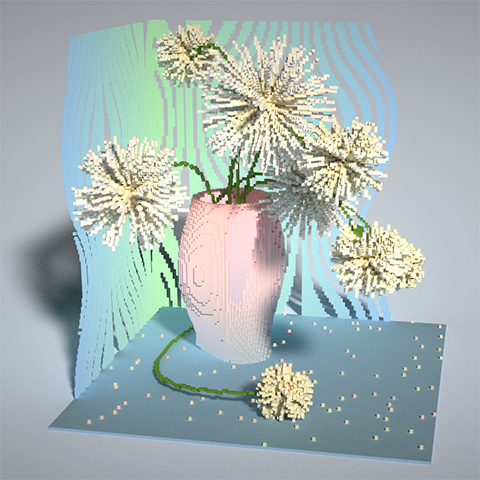
-
Snowflakes 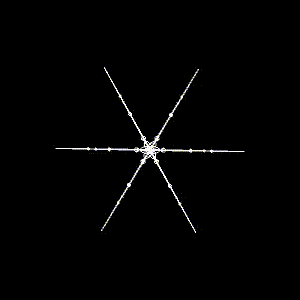
Back in school, I worked on some short animations that I labeled as "to be revised later" but never quite got back to.
It is a habit of setting the bar too high, which sometimes makes it tough to commit time to these projects when there are so many other exciting avenues I want to explore.
Feel free to enjoy them in their current draft state.
-
Dispatch 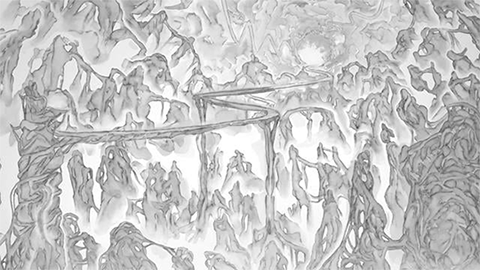
-
The All-nighter 
For recent updates, you can find some of my work on my
Instagram account where I occasionally post.
If you would like to learn more, please get in touch.
— Yinglei